
Github Actions Dispatch Event
tags: Github Actions
category: DevOps
description: Github Actions Dispatch Event
created_at: 2023/08/13 16:00:00
前言
用過 Github Actions 的人應該都知道,Github Actions 有提供一個 workflow_dispatch 的事件,可以讓我們手動觸發 Github Actions 的流程,就算你不知道,你應該也知道有其他方式可以觸發 workflow 的流程,例如:push、pull_request、schedule 等等..
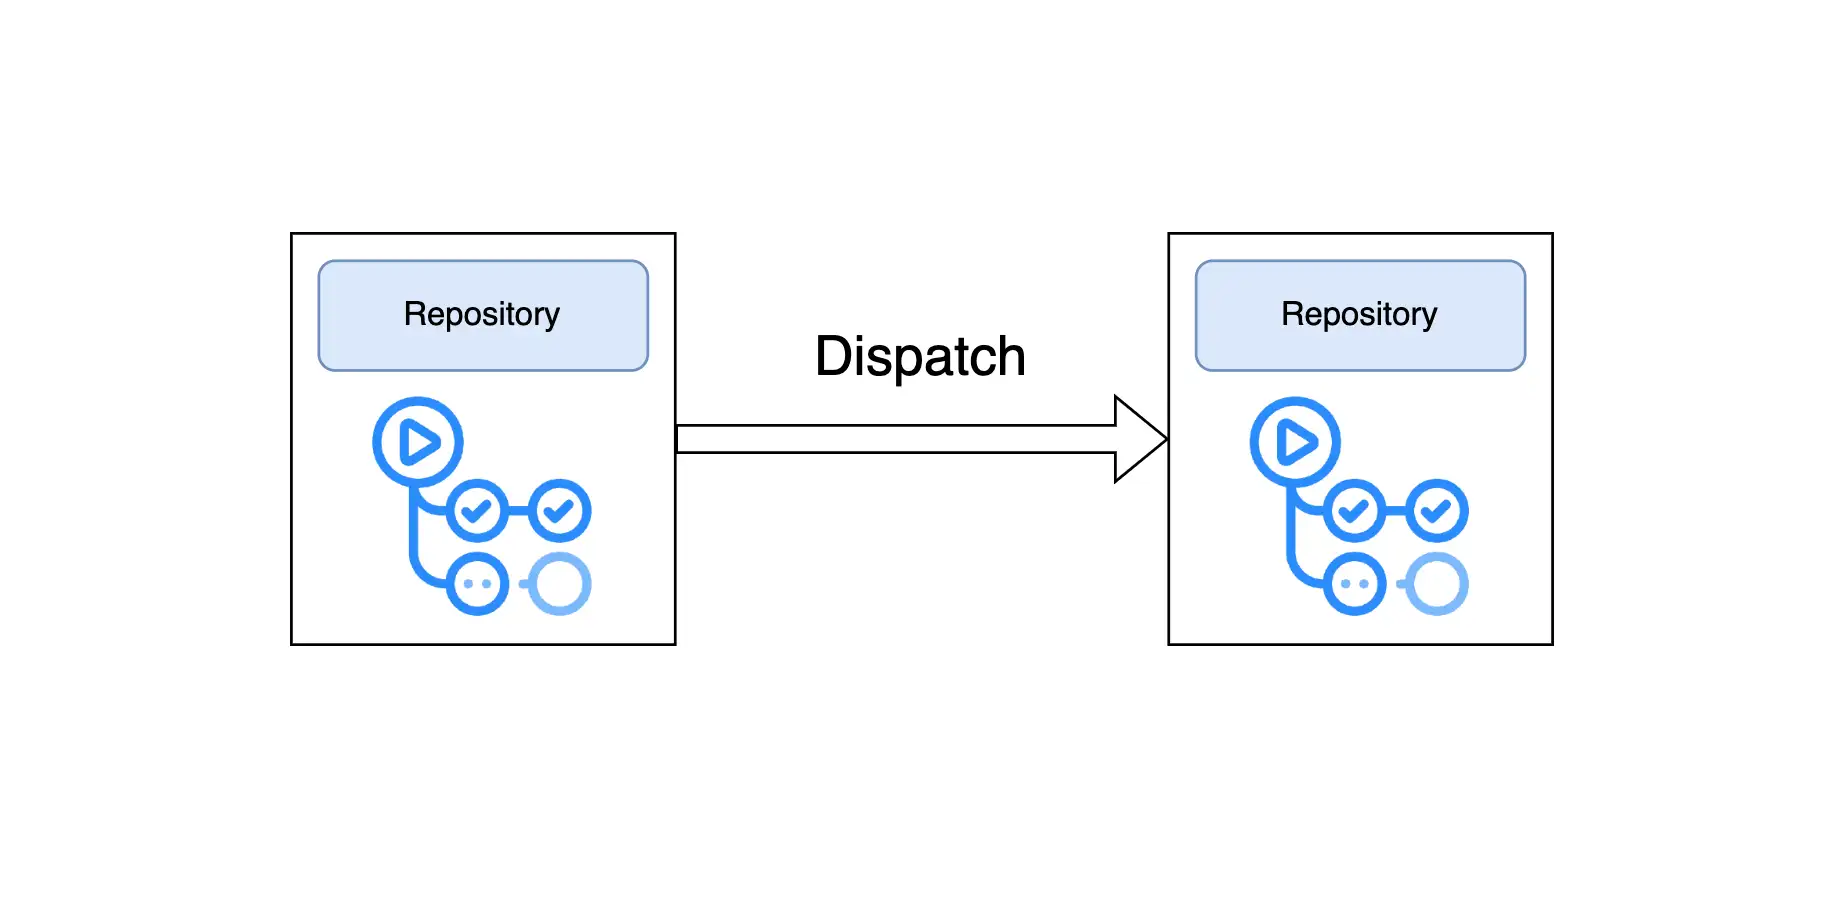
但這些都是在單一個 repo 中觸發,如果你想要觸發別的 repo 的 workflow 呢? 這篇就是要來介紹如何在 Github Actions 中觸發其他 repo 的 workflow。
為什麼要這樣做?
以我自己就碰到了兩個案例:
- 在 (開源工具加速前端開發 - A framework agnostic solution) 這一篇的
Demo專案的做法就是multi-repo,有興趣的可以去看看。 - 在 Event Loop Practice 這個專案中,其實他是兩個
repo,一個是private的放source code,另一個是public的放github page,當source code有更新時,會觸發public的workflow來更新github page,這樣也可以另類達到private repo的github page(?)雖然我當初只是想說沒空重構,不想Open-source,但又想讓大家使用這個工具,所以就這樣做了。
總之就是當你有一個 repo 更新,需要去觸發其他 repo 的部署或更新時,就可以用這個方法。
如何實現?
其實也很簡單,重點就是Create a workflow dispatch event這一個 github 提供的 rest api。
實作
1. 建立一個 Personal access token
首先,我們需要一個 Personal access token,這個 token 會用來做 Github Actions 的 authentication,需要給他 repo 的 permission。
原文: You must authenticate using an access token with the repo scope to use this endpoint.
如果你建立的是新版的細粒度的 Fine-grained personal access tokens,那你的權限要給 repo 的 Actions 的 Read and write 權限,否則如果權限不足會出現 Resource not accessible by personal access token 的錯誤訊息。
注意:權限不足 action 一樣會執行完畢,所以不要以為 action 執行完畢就是成功的,要看 action 的 log 才知道。
2. 建立一個要被觸發的 workflow
這邊隨便建立一個就可以,只要他有 workflow_dispatch 事件就可以了,所以下面貼 github pages 預設的 workflow。
# Simple workflow for deploying static content to GitHub Pages
name: Deploy static content to Pages

on:
  workflow_dispatch:

# Sets permissions of the GITHUB_TOKEN to allow deployment to GitHub Pages
permissions:
  contents: read
  pages: write
  id-token: write

# Allow only one concurrent deployment, skipping runs queued between the run in-progress and latest queued.
# However, do NOT cancel in-progress runs as we want to allow these production deployments to complete.
concurrency:
  group: "pages"
  cancel-in-progress: false

jobs:
  # Single deploy job since we're just deploying
  deploy:
    environment:
      name: github-pages
      url: ${{ steps.deployment.outputs.page_url }}
    runs-on: ubuntu-latest
    steps:
      - name: Checkout
        uses: actions/checkout@v3
      - name: Setup Pages
        uses: actions/configure-pages@v3
      - name: Upload artifact
        uses: actions/upload-pages-artifact@v2
        with:
          # Upload entire repository
          path: '.'
      - name: Deploy to GitHub Pages
        id: deployment
        uses: actions/deploy-pages@v2
上面這個必須存在你要被觸發的 repo 中,假設我這邊的 repo 名稱是 test-action,然後檔案名稱是預設的 static.yml。
3. 建立一個 workflow 來觸發其他 repo 的 workflow
首先一樣是建立一個 workflow。
name: dispatch test-action workflow

on:
  workflow_dispatch:

jobs:
  dispatch:
    runs-on: ubuntu-latest
    steps:

      - name: dispatch test-action workflow
        run: |
          curl -L \
            -X POST \
            -H "Accept: application/vnd.github+json" \
            -H "Authorization: Bearer ${{ secrets.CI_TOKEN }}" \
            -H "X-GitHub-Api-Version: 2022-11-28" \
            https://api.github.com/repos/laijunbin/test-action/actions/workflows/static.yml/dispatches \
            -d '{"ref":"main"}'
為了方便測試,所以使用 workflow_dispatch 事件,這樣就可以手動觸發這個 workflow 來驗證。
然後下面在 run 的部分也簡單的用 curl 來實驗。
需要注意的是,你必須先將上面你生成的 token 存在 secrets 中,這樣才能在 workflow 中使用。
然後我們來看看他原本的 endpoint 是怎麼樣的。
https://api.github.com/repos/OWNER/REPO/actions/workflows/WORKFLOW_ID/dispatches
我們需要代換三個欄位,分別是
OWNER:repo的擁有者REPO:repo的名稱WORKFLOW_ID:workflow的id
需要注意的是,WORKFLOW_ID 這個欄位是檔案名稱,以我這次的範例就是 static.yml。
最後看看 payload 的部分,最重要的是 ref 這個欄位,這個欄位是指定 branch 的意思,如果你沒有指定,那就會壞掉 Invalid request.\n\n\"ref\" wasn't supplied.。
{
  "ref": "main"
}
再來就可以嘗試去戳戳看,當這個 workflow 跑完,切去 test-action 那邊應該也會看到 workflow 被觸發了。
注意:如果被觸發的 workflow 忘了加 workflow_dispatch 事件,那就會出現 Workflow does not have 'workflow_dispatch' trigger 的錯誤訊息。
帶入 input
在 payload 中,我們還可以帶入 input,傳值給另一個 workflow。
{
  "ref": "main",
  "inputs": {
    "name": "laijunbin"
  }
}
如果你有傳值,就要在接收的地方設定 input。
static.yml
# Simple workflow for deploying static content to GitHub Pages
name: Deploy static content to Pages

on:
  workflow_dispatch:
    inputs:
      name:
      home:

# 略
    steps:
      - name: Checkout
        uses: actions/checkout@v3
      - name: Show inputs.name
run: echo ${{ inputs.name }}inputs的部分有很多設定(例如: required、default等等),可以再參考官方文件,但這邊只是範例,就以簡單為主。
接著你再去觸發看看,應該會正常運作。
如果沒有設定好接收的 input,那就會出現 Unexpected inputs provided: [\"name\"] 的錯誤訊息。
使用現成的 action
curl 有點冗長不好閱讀(相對上),這邊附上幾個我在用的方式,以後我用到也直接過來貼
-
   - uses: actions/github-script@v6
     with:
       github-token: ${{ secrets.CI_TOKEN }}
       script: |
         github.rest.actions.createWorkflowDispatch({
           owner: context.repo.owner,
           repo: repo,
           workflow_id: workflow_id,
           ref: 'main',
         })
-
   - uses: zzzze/webhook-trigger@master
     with:
       data: '{"ref":"main"}'
       webhook_url: https://api.github.com/repos/laijunbin/test-action/actions/workflows/static.yml/dispatches
       options: '-H "Accept: application/vnd.github+json" -H "Authorization: Bearer ${{ secrets.CI_TOKEN }}" -H "X-GitHub-Api-Version: 2022-11-28"'
就看自己喜歡哪一種,應該還有別人包好的 action,或是你也可以自己包一個自己喜歡的來用。
結論
這篇文章主要是想要記錄一下,以後有需要的時候可以快速查詢。
本來很早就應該要寫這一篇了,但是因為很忙,就拖到現在才寫QQ。