
CircleCI + SSH 實作 CI/CD
tags: Github CI CD Linux
category: DevOps
description: CircleCI + SSH 實作 CI / CD
created_at: 2021/07/06 01:00:00

事前準備
- 首先你要有個 CircleCI 帳號,可以用 Github 帳號登入
- 你要有一台 Linux Server,裝好 Node.js 與 Git
- 建立一個 Github repository
這裡沿用上一篇特別建立的 gituser,因為不太放心把 ec2-user 的 key 丟出去。
建立 Github repository
假設我 repo 叫做 cicd-exercise 且設定為 private

如果要讓 CircleCI 抓到你的private repo,在登入的時候記得給權限,一開始忘記沒關係,再重新點一次登入就可以了。
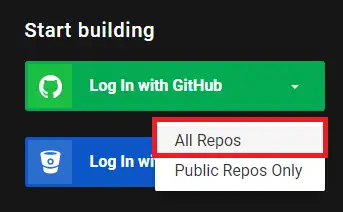
登入後會看到你所有的 github repo
先在本地建立一個資料夾 for 剛才建立的repo並建立一個 index.js,裡面寫點東西並推上去遠端
console.log('Hello world')建立 CircleCI 使用的設定檔
路徑: .circleci/config.yml
然後填入下面的內容,也把他推上去遠端
version: 2.1
jobs:
build:
docker:
- image: cimg/node:14.10.1 # 這邊是你選擇的 docker image
steps:
- checkout # 把 github repo 的 code 拉下來
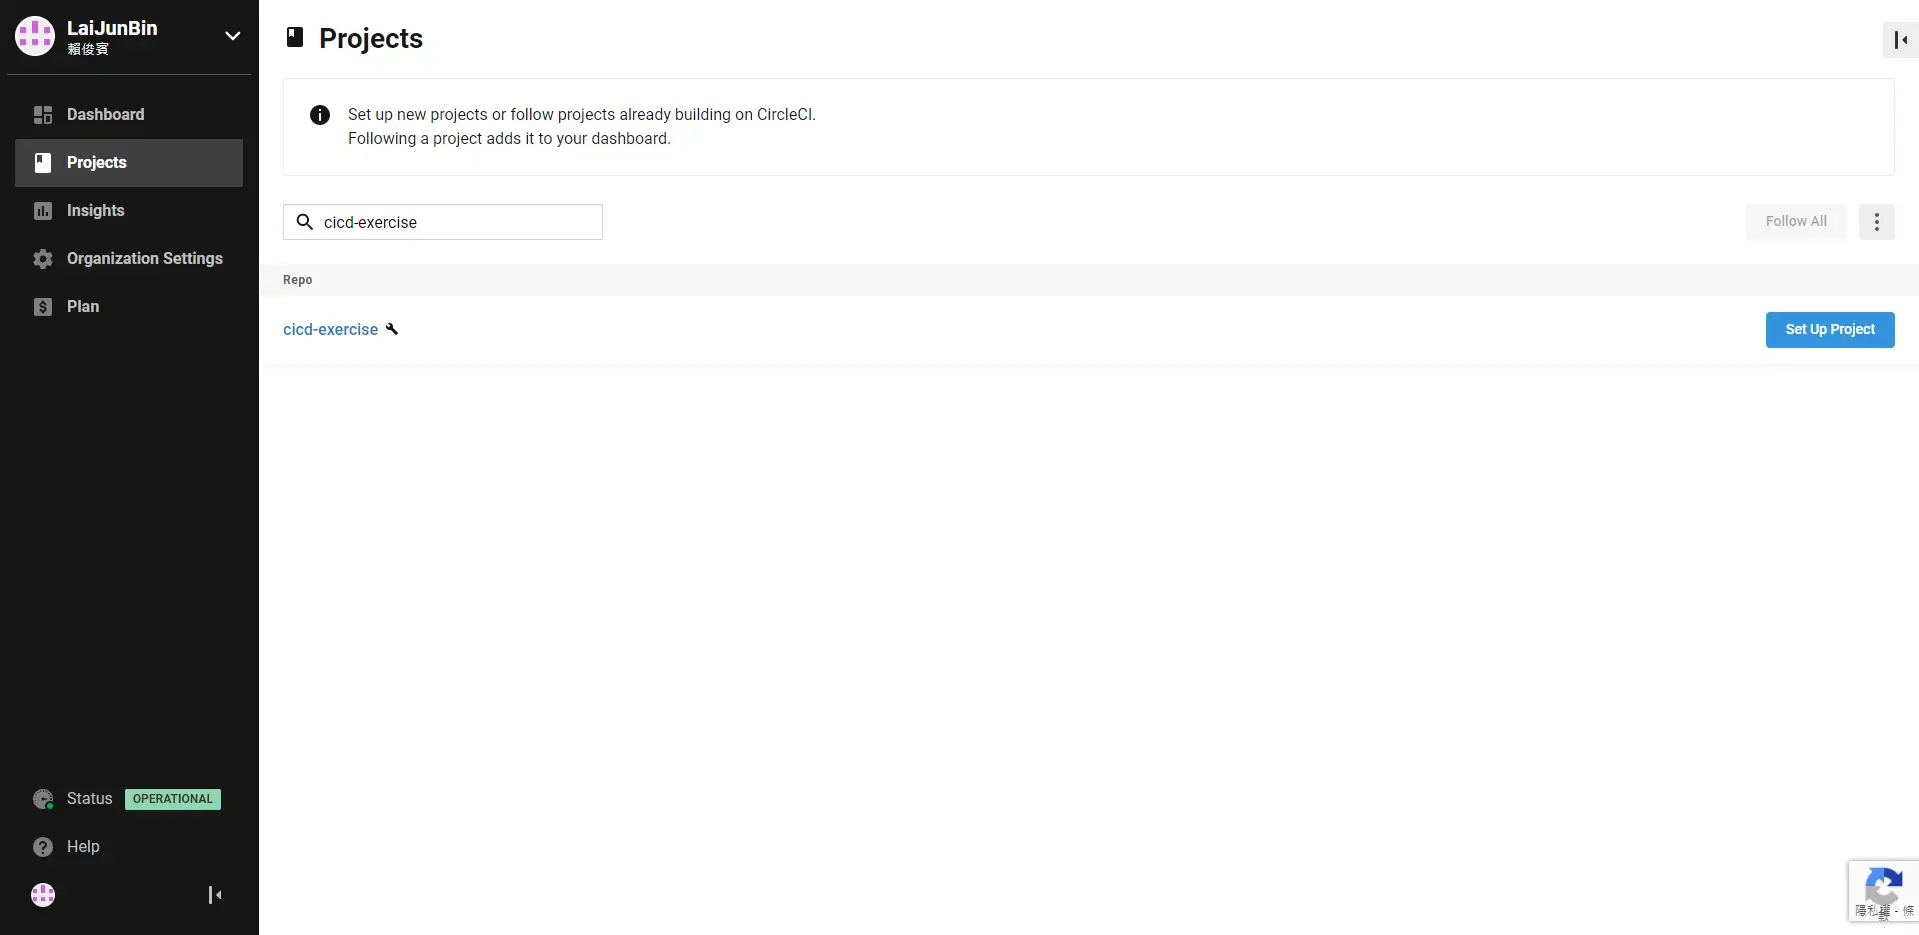
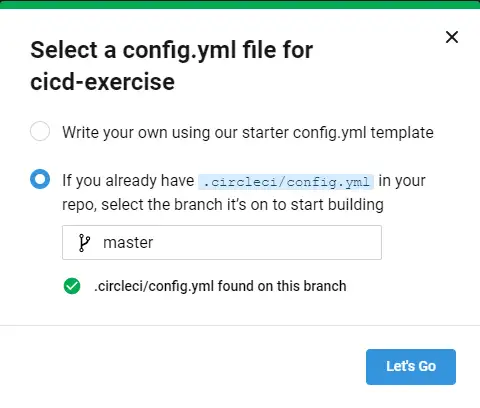
- run: node index.js # 執行指令回到 CircleCI 的頁面,按下 Set Up Project會跳出一個視窗,選擇下面那個並輸入存在設定檔的 branch,在他讀取到之後點選Let's Go
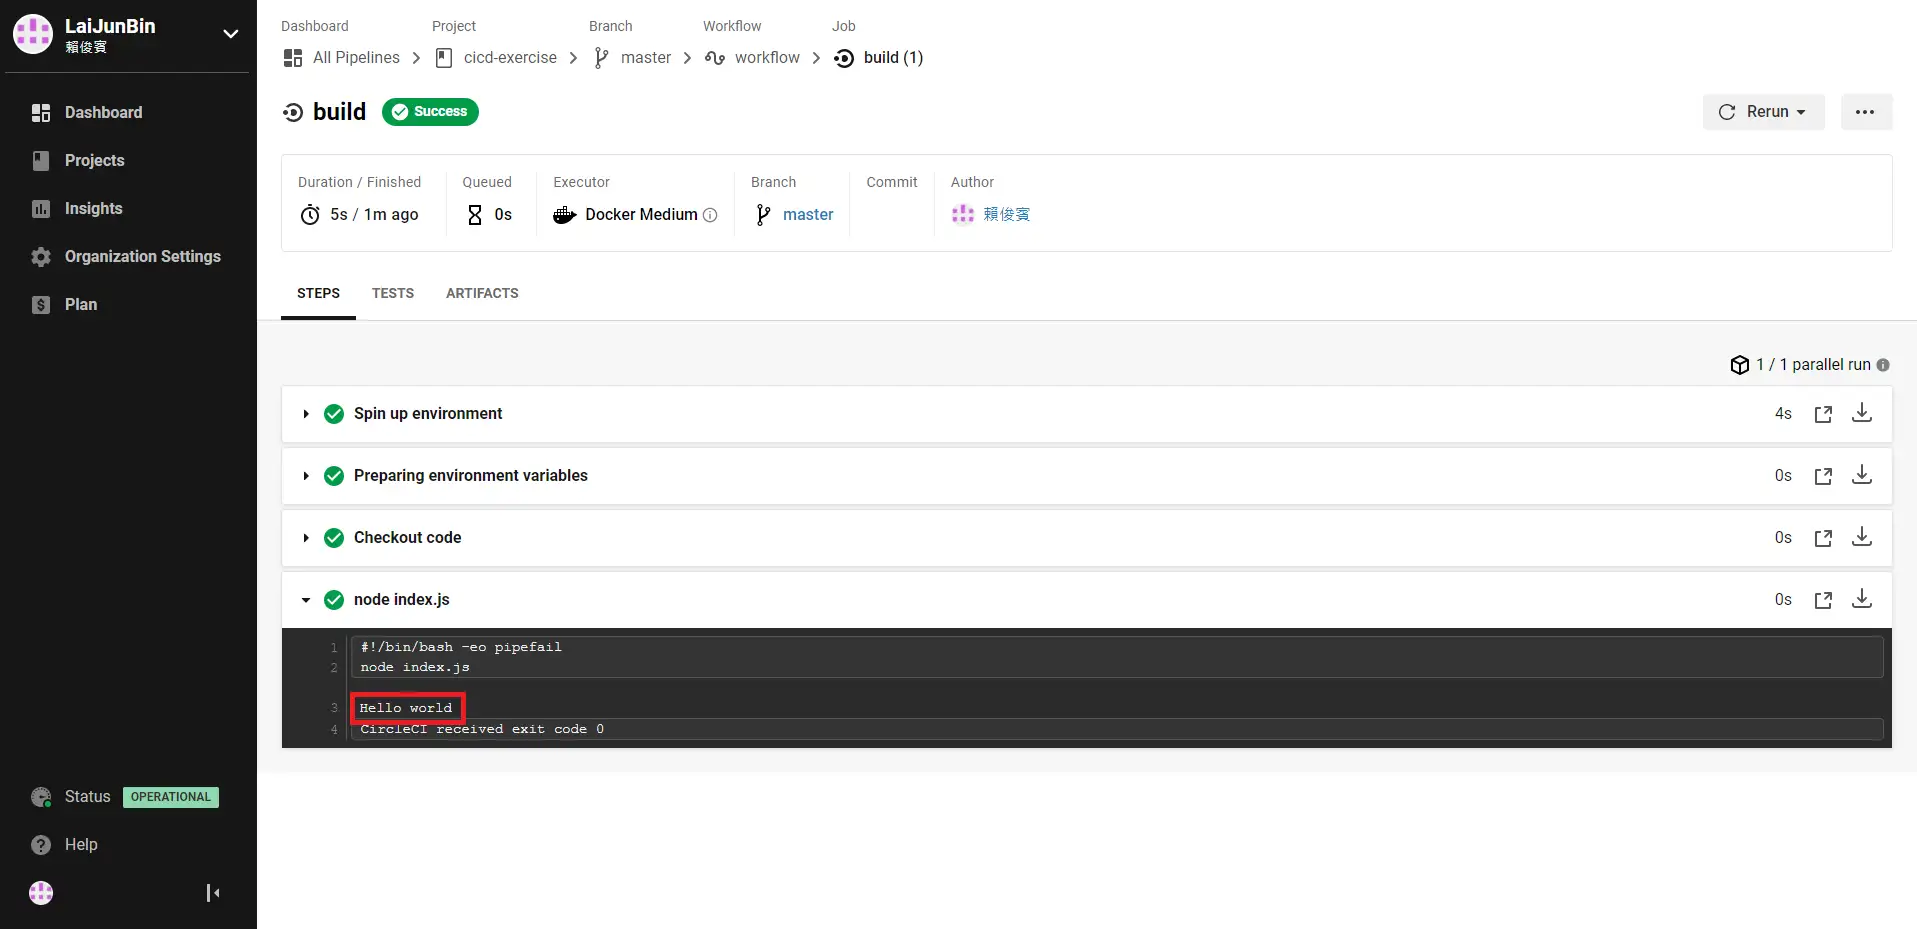
再來會看到 Dashboard,看到Build 1打綠色勾勾,代表執行正常,可以點下去看他做了什麼
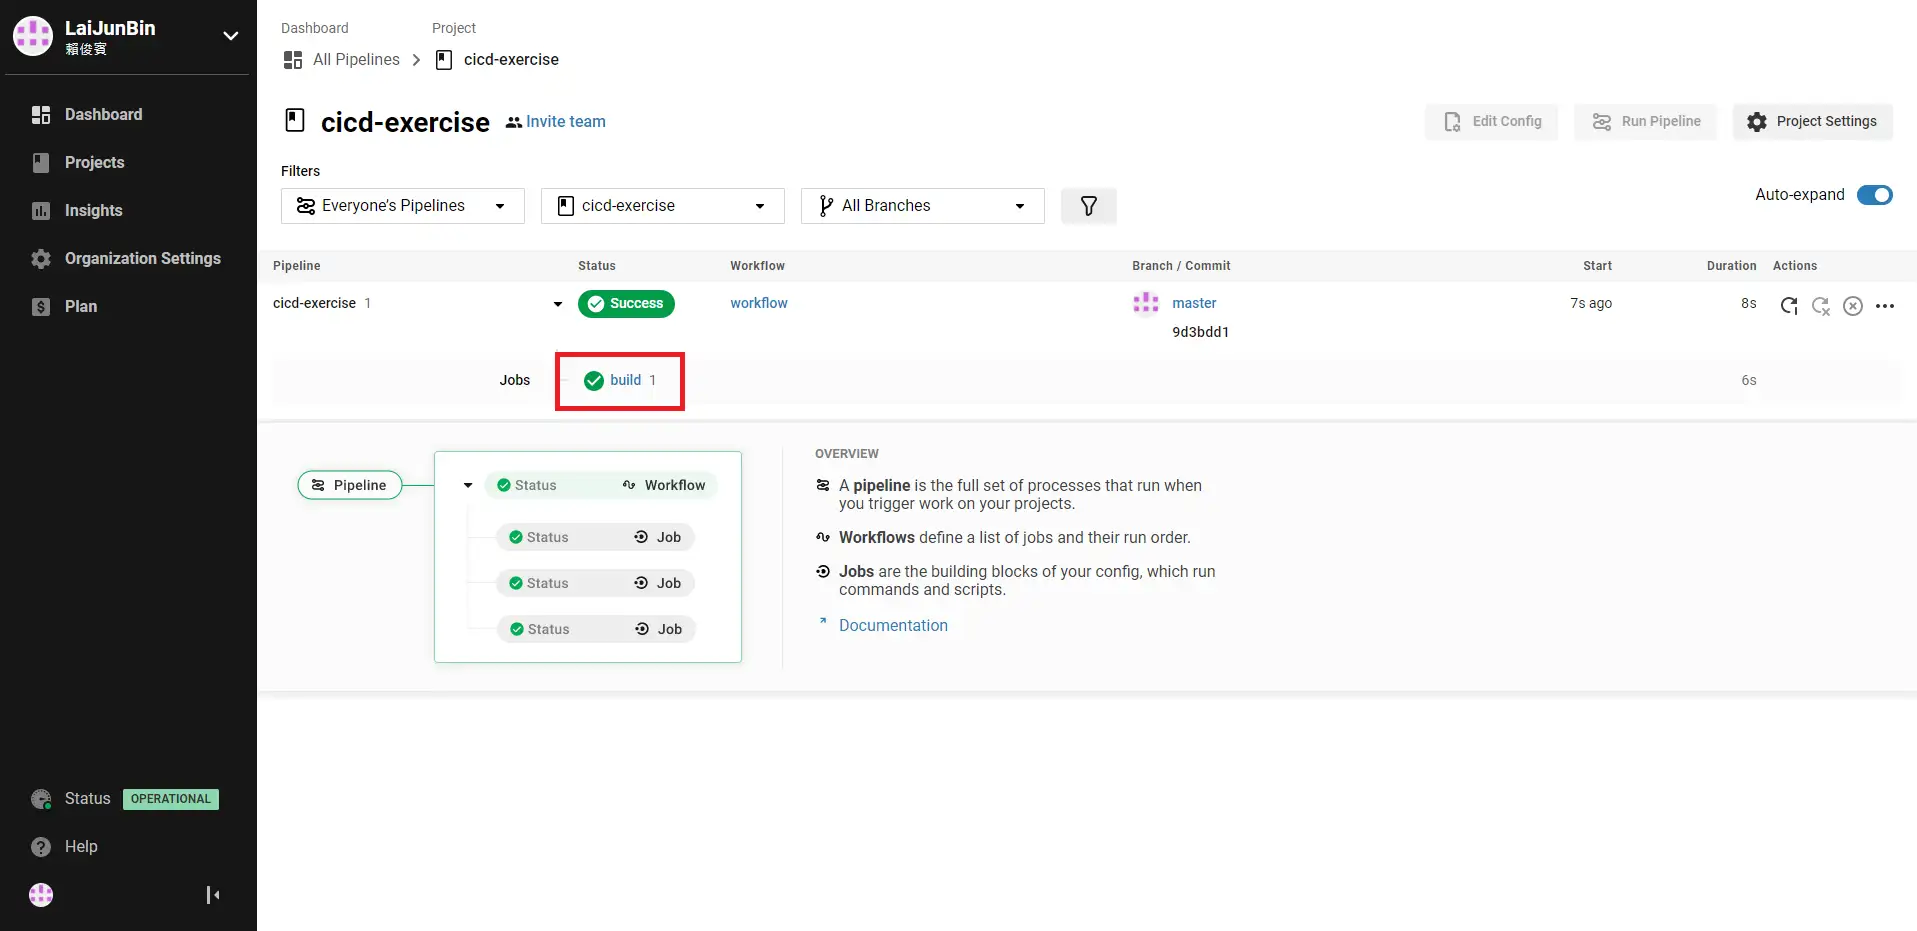
再來展開最下面那個 node index.js ,會看到他確實印出了剛才 index.js 當中寫的 Hello world
稍微寫個測試
建立 node.js 專案
$ npm init -y安裝 jest
npm i -D jest建立兩個檔案,並分別填入兩個內容
- lib/sum.js
- lib/sum.test.js
sum.js
function sum() {
    let value = 0
    for (let argument of arguments) {
        value += argument
    }
    return value
}

module.exports = sum
sum.test.js
const { test, expect } = require("@jest/globals")
const sum = require("./sum")

test('1 + 2 + 3 equal to 6', () => {
    expect(sum(1, 2, 3)).toBe(6)
})
修改 package.json 的 scripts
{
    ...,
    "scripts": {
       "test": "jest"
    },
    ...
}
之後可以執行測試
$ npm run test再來把 index.js 填入以下內容,開啟一個 Web Server 在 3000 Port.
const sum = require("./lib/sum")
const http = require("http")

http.createServer(function (request, response) {
    const value = sum(1, 2, 3)
    response.end(value.toString())
}).listen(3000)

console.log('Server running at port 3000.')
再來修改一下設定檔
version: 2.1
jobs:
  build:
    docker:
      - image: cimg/node:14.10.1
    steps:
      - checkout
      - run:
           name: Install Packages
           command: npm i
      - run:
           name: Run Test
           command: npm run test
  deploy:
     machine: true
     steps:
       - run:
           name: Deploy Test
           command: echo "Hi Hi."

workflows:
  version: 2.1
  build-and-deploy:
    jobs:
      - build
      - deploy:
          requires:
            - build # build 成功才跑
          filters:
            branches:
              only: master # 只在 master branch 做
在推上遠端之前,寫一下 .gitignore,避免超肥的 node_modules 一起上去。
node_modules/*推上去之後, CircleCI 就會開始跑 Jobs ,以上面的設定檔來說有兩個 job,分別是 build 與 deploy,就會看到下面的畫面
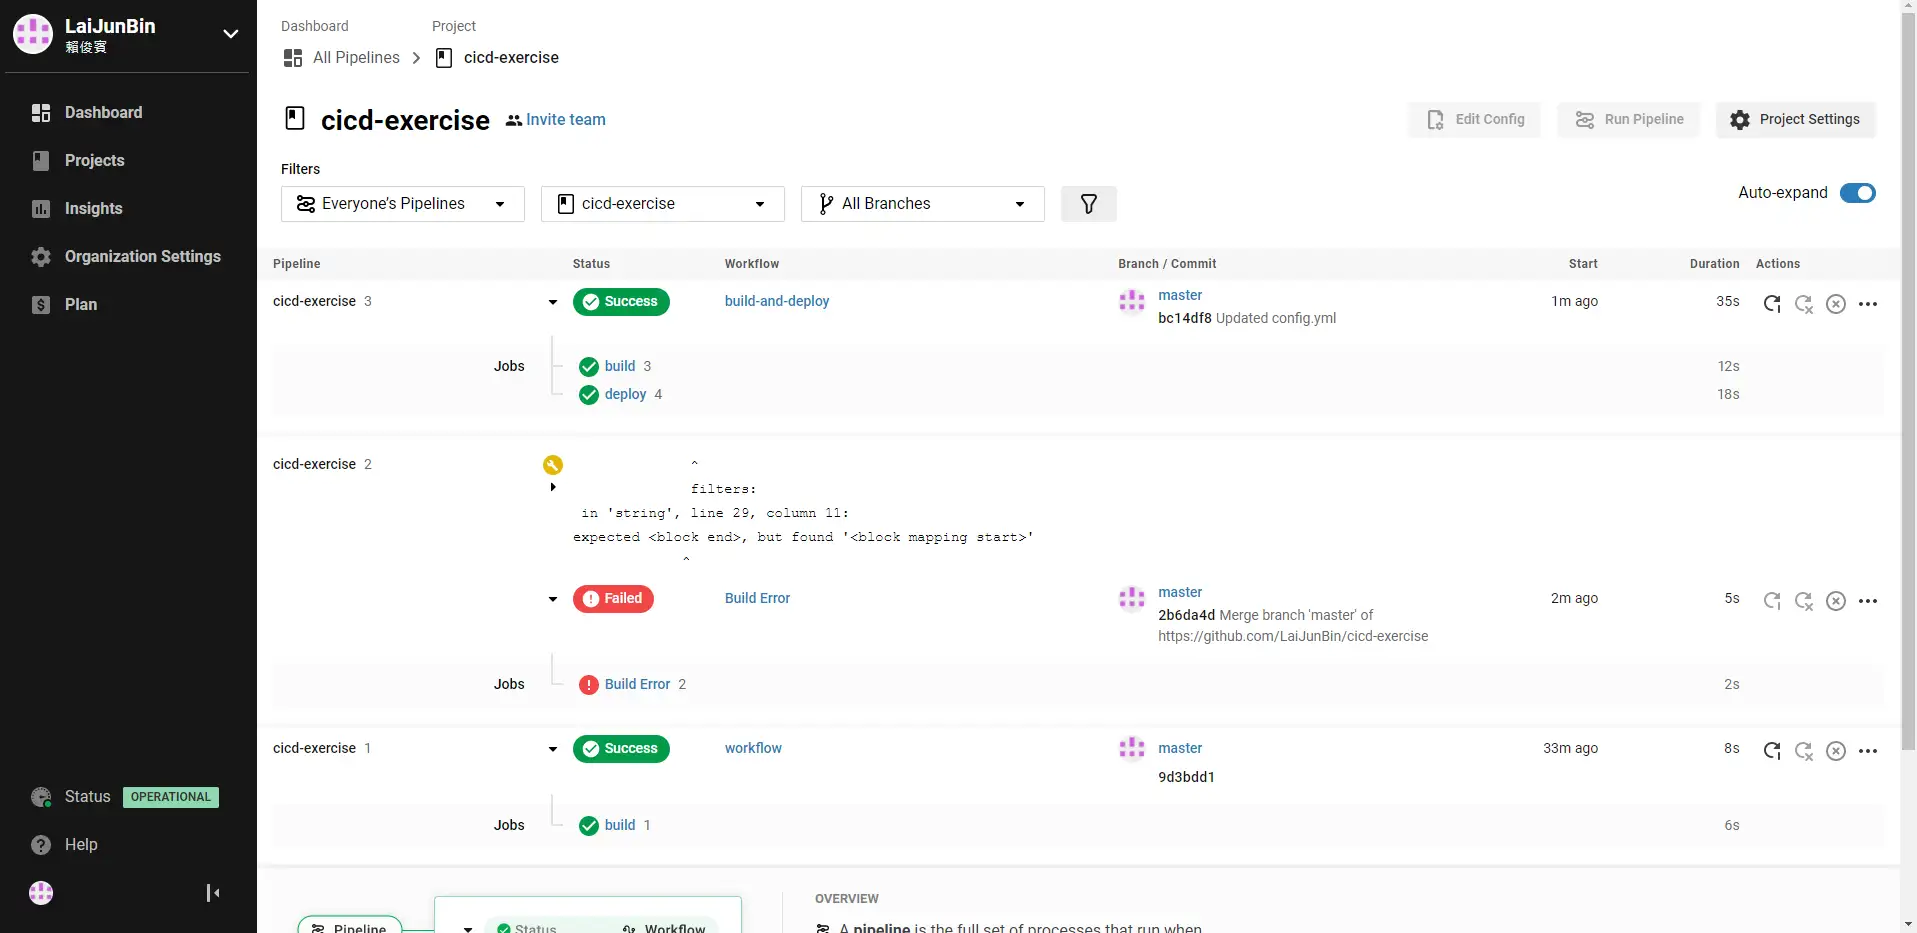
中間有一段紅色錯誤是因為設定檔一開始沒調整好空格,對 yml 檔來說 空格 排好很重要,CircleCI可以在上面編輯 yml 檔,編輯好可以直接在上面 Commit 與執行,還滿方便的。
再來可以看到他很順利的跑完了 build ,跑完了測試。

在 deploy 的部分也很順利的執行

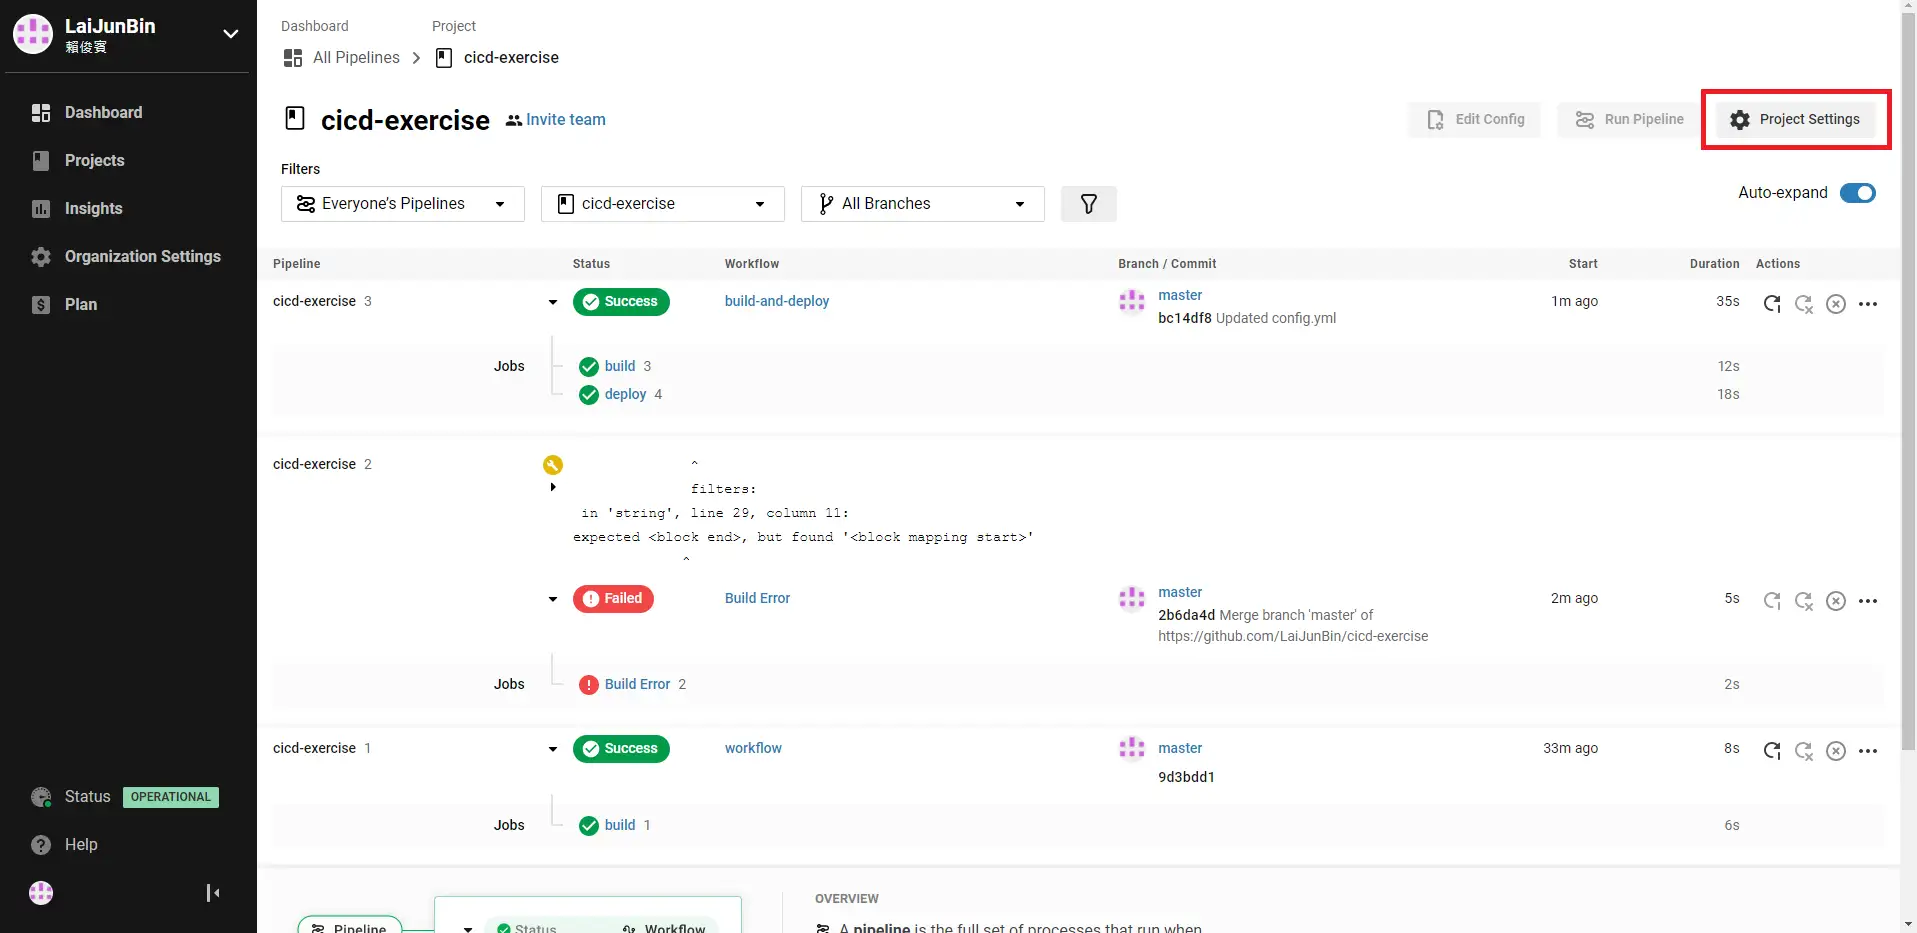
再來因為打算使用 SSH 來 deploy , 要先在 CircleCI 專案中設定 SSH Key 與 Host。
再來點選左邊選單的 SSH Keys 並滑到最下面,會看到 Additional SSH Keys,可以新增 SSH Key
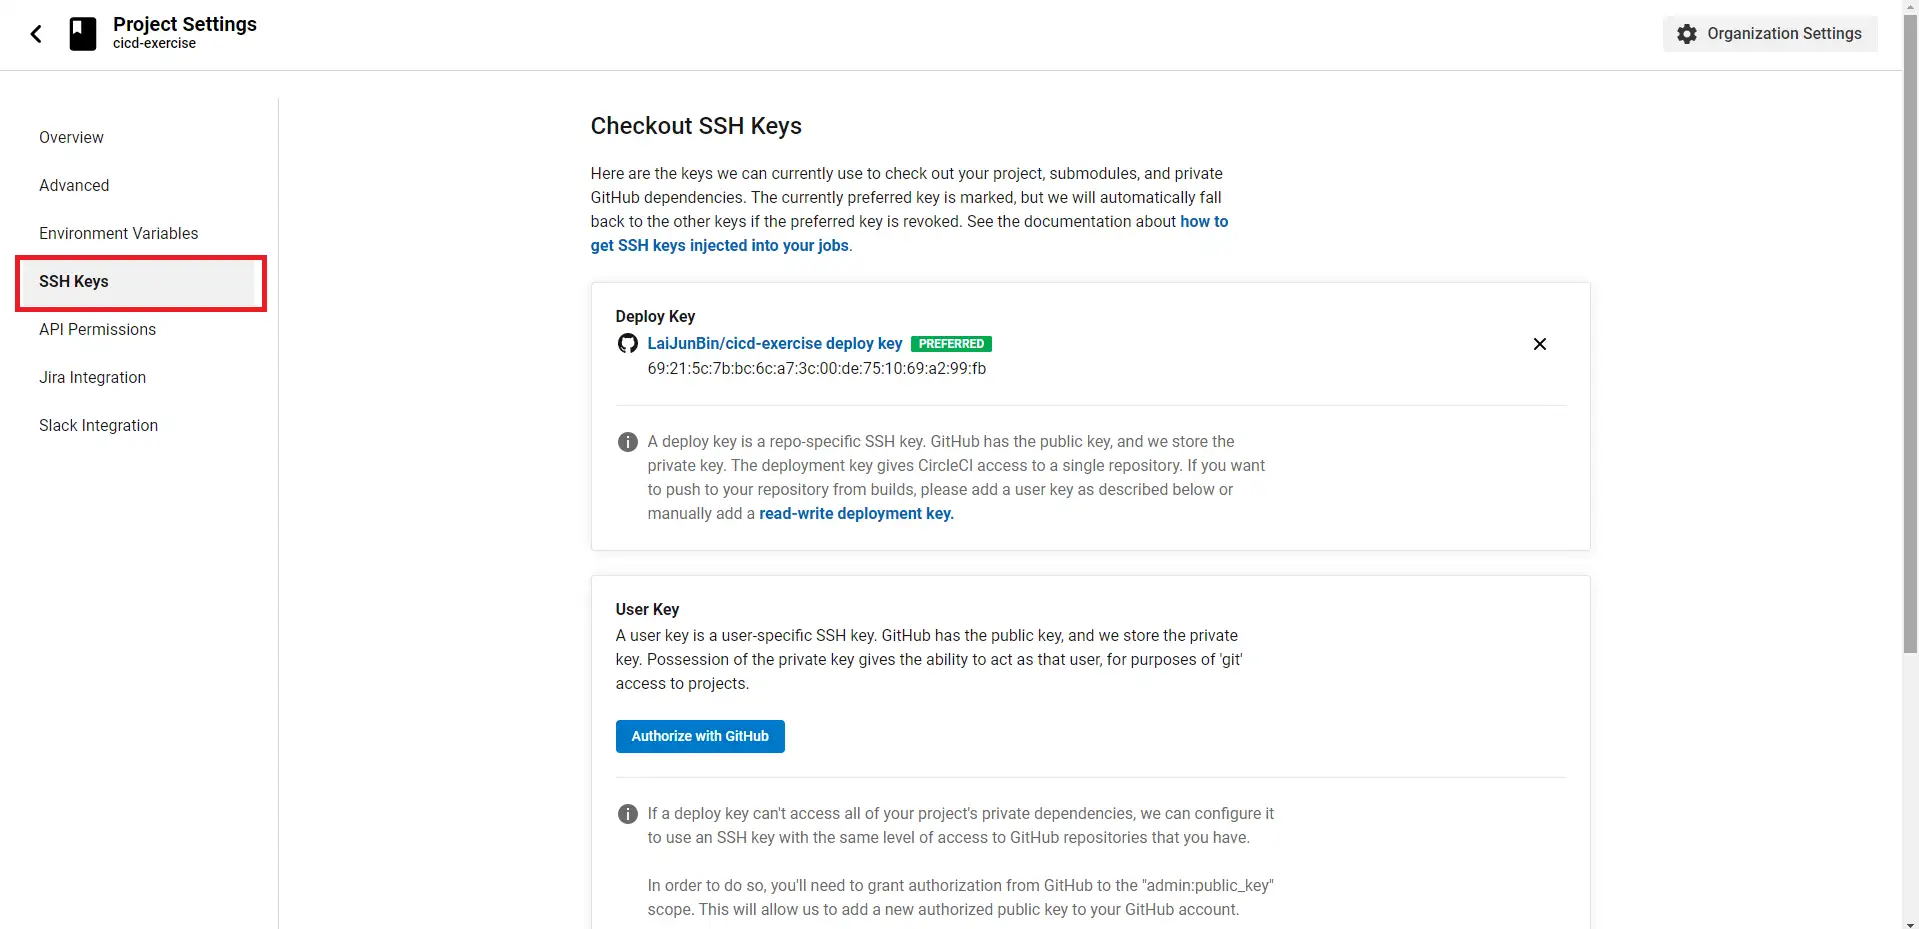
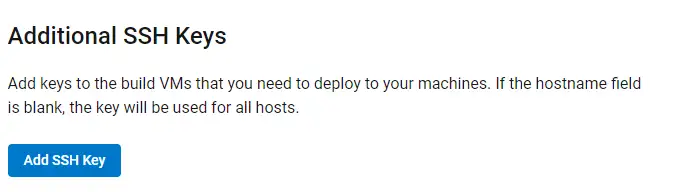
輸入 Host 與 你的 OpenSSH Private Key 後儲存。
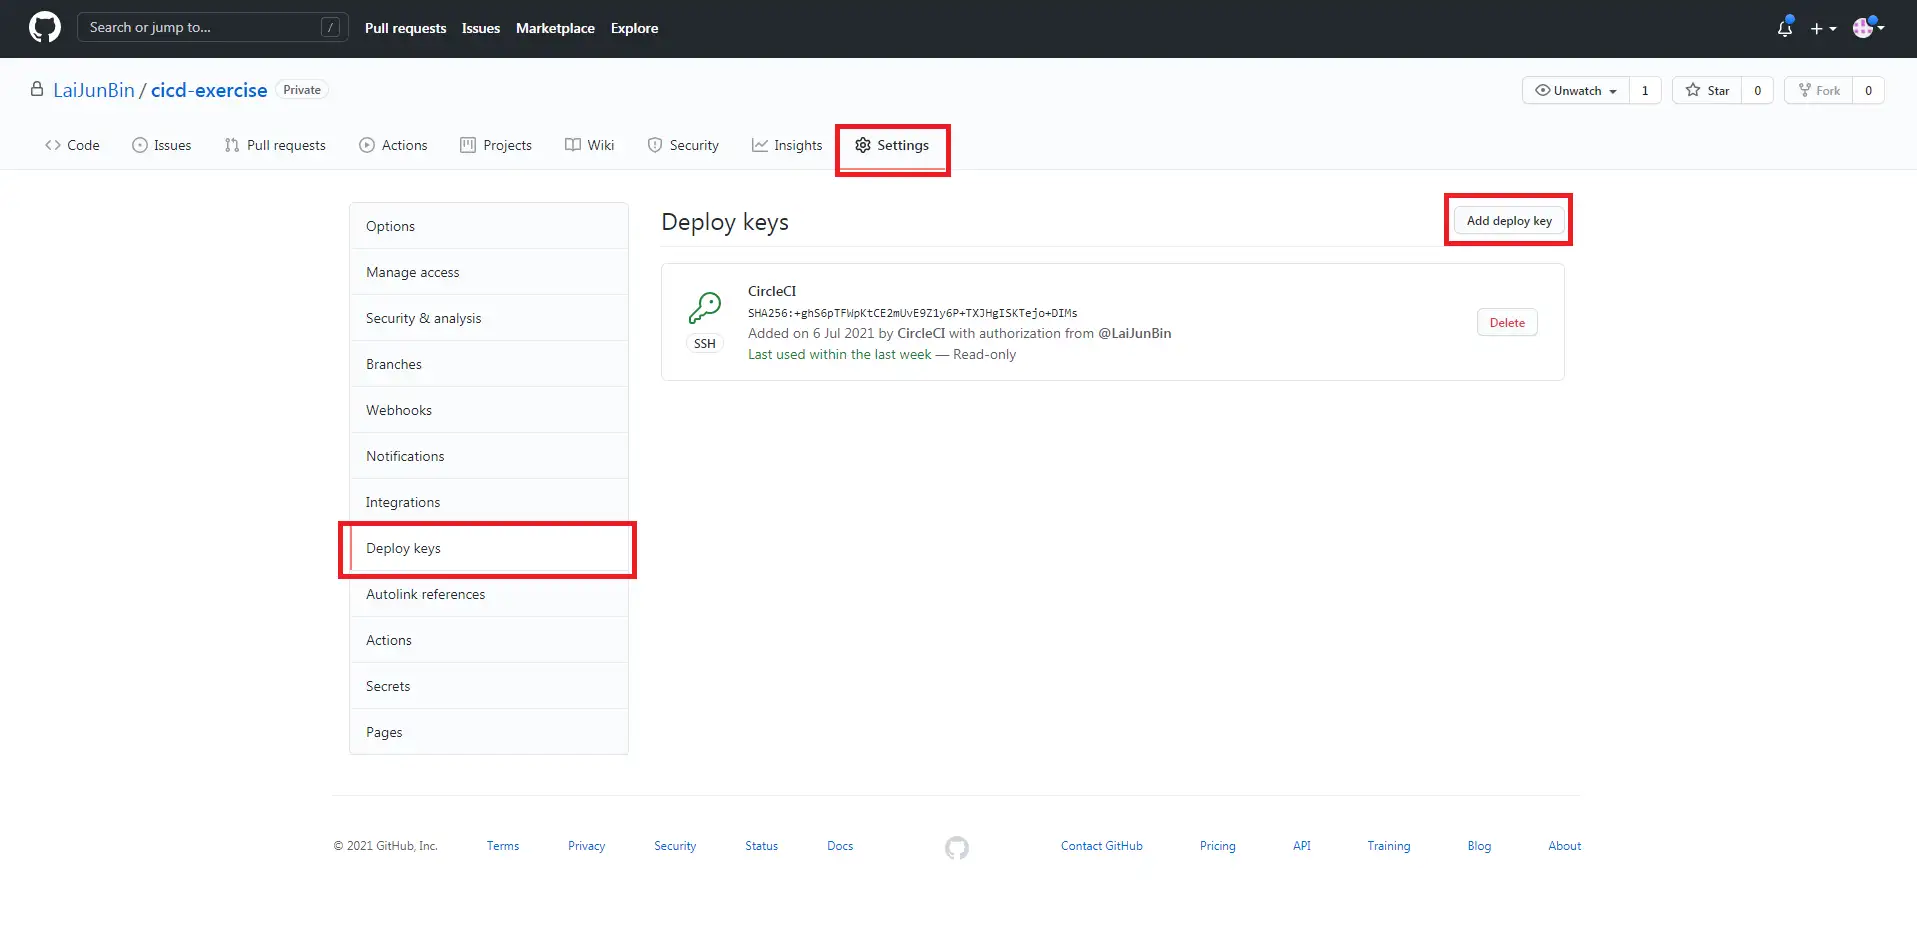
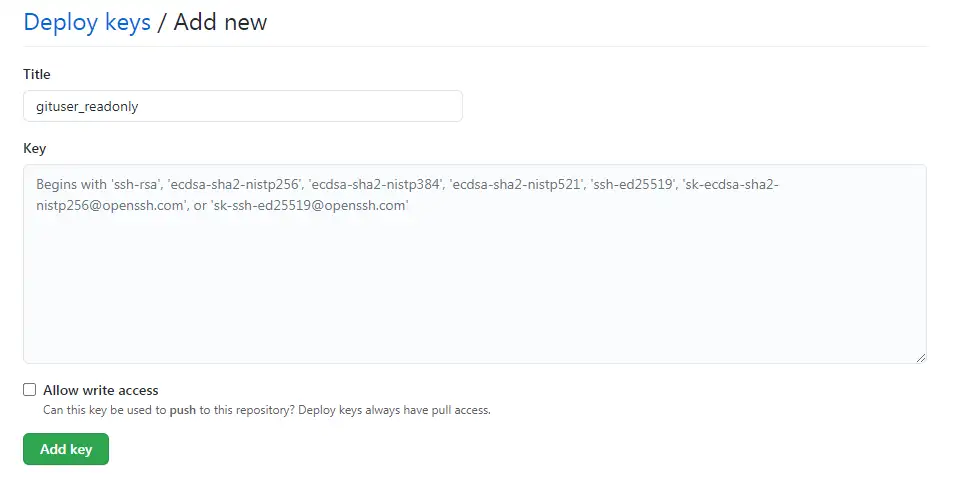
再來回到 Github 設定 repository 的 Deploy Keys,讓你的 Linux user readonly 使用。
再來 Title 輸入什麼都可以,下面幫他產生一組給他用的 Public Key,可以見上一篇使用Putty產生。
再來回到你的 Linux 上設定一下 ssh,首先進到 ~/.ssh 資料夾
建立一個檔案並把跟 Github 上的 Deploy Key 對應到的 OpenSSH Primary Key貼進去
假設我這裡建立的檔案名稱是 cicd-exercise-readonly
再來建立一個 config 檔案,並填入:
Host *
  AddKeysToAgent yes
  IdentityFile ~/.ssh/cicd-exercise-readonly
然後設定一下權限
$ chmod 600 cicd-exercise-readonly config再來讓你的 Linux user 每次登入都執行下面的指令
$ eval "$(ssh-agent -s)"以 AWS Linux2 來說,是放在 ~/.bash_profile 中。
之後 exit 在重新 sudo su - gituser 進去測試一下能不能把 Github Repository 抓下來。
記得選擇 SSH
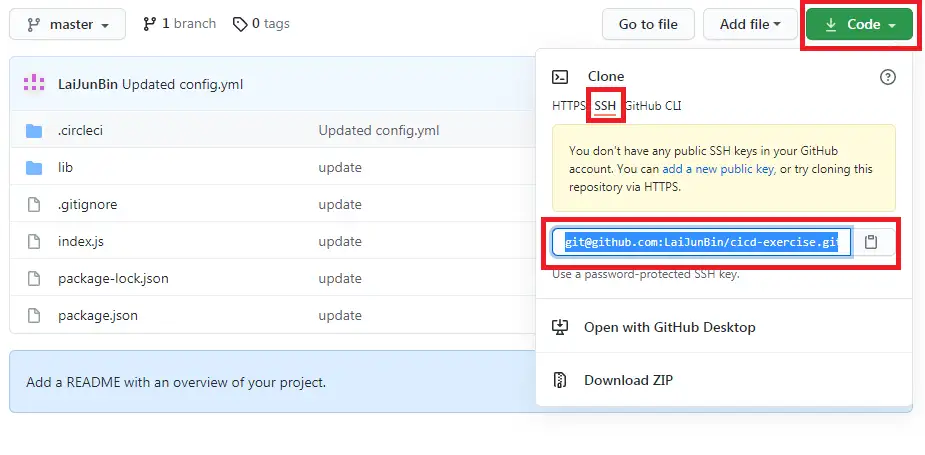
$ git clone 你複製的網址這時你應該可以正常的 clone 下來
再來最後在你的家目錄建立一個 deploy.sh 負責用來執行 deploy 要做的事,假設我寫了下面這些
cd ~/cicd-exercise
git fetch origin master
git reset --hard origin/master
這樣 deploy.sh 只要被執行就會去遠端抓 master 的版本
再來修改一下 CircleCI deploy 的設定檔,ssh的資訊記得改成自己的
version: 2.1
jobs:
  build:
    docker:
      - image: cimg/node:14.10.1
    steps:
      - checkout
      - run:
           name: Install Packages
           command: npm i
      - run:
           name: Run Test
           command: npm run test
  deploy:
     machine: true
     steps:
       - run:
           name: Deploy Over SSH
           command: ssh [email protected] "sh deploy.sh"

workflows:
  version: 2.1
  build-and-deploy:
    jobs:
      - build
      - deploy:
          requires:
            - build # build 成功才跑
          filters:
            branches:
              only: master # 只在 master branch 做
再來 push 上遠端,就完成了!
那 Server 呢? 自己建!
以這個部落格來說的話是用 nginx 指向到某個資料夾(假設叫 dist),而 deploy.sh 會去把最新的拉下來然後 build 到 dist 資料夾中。